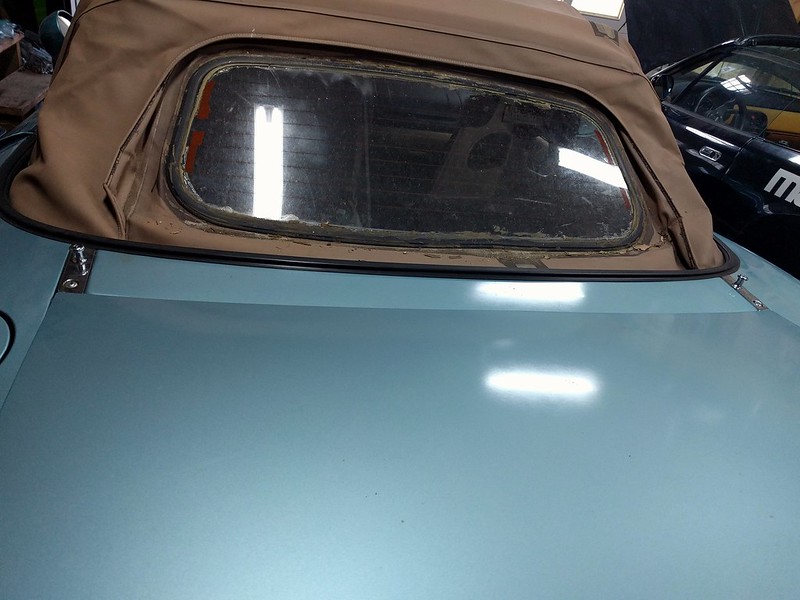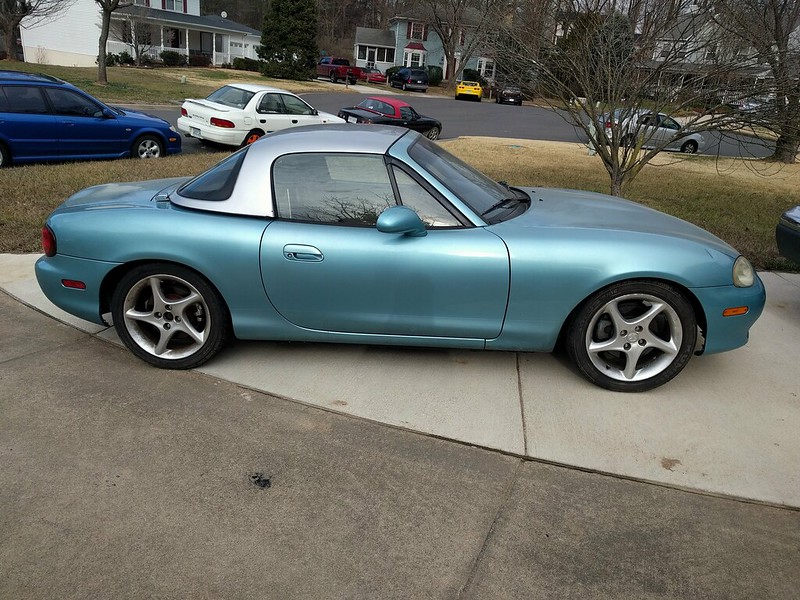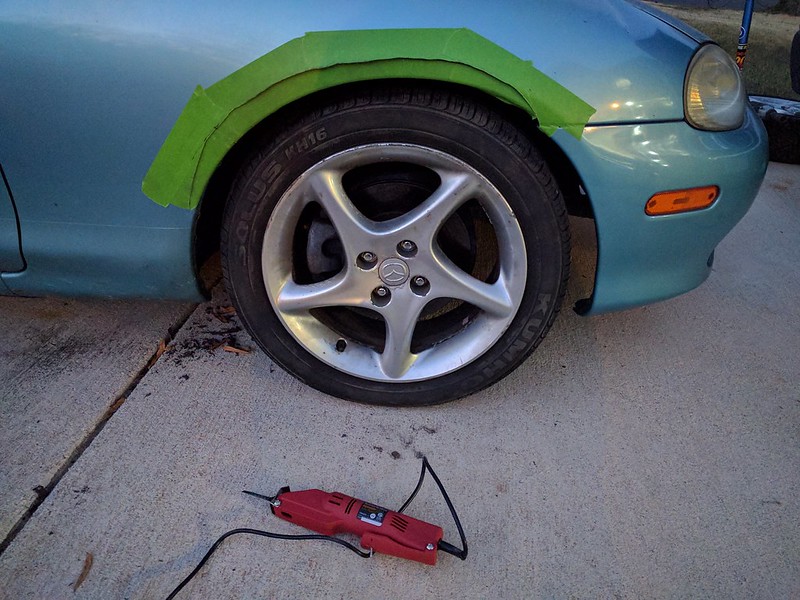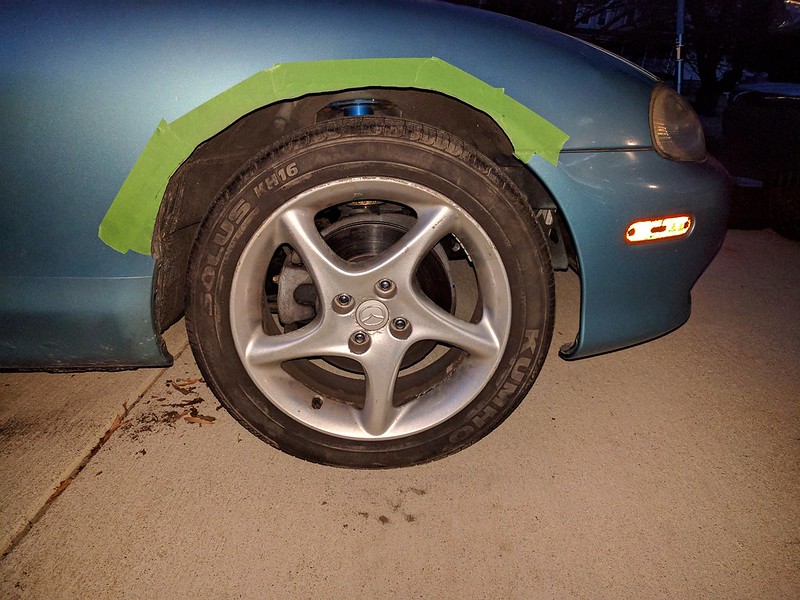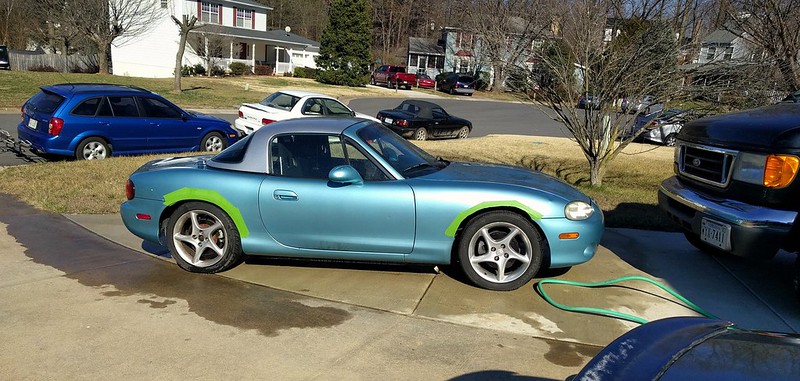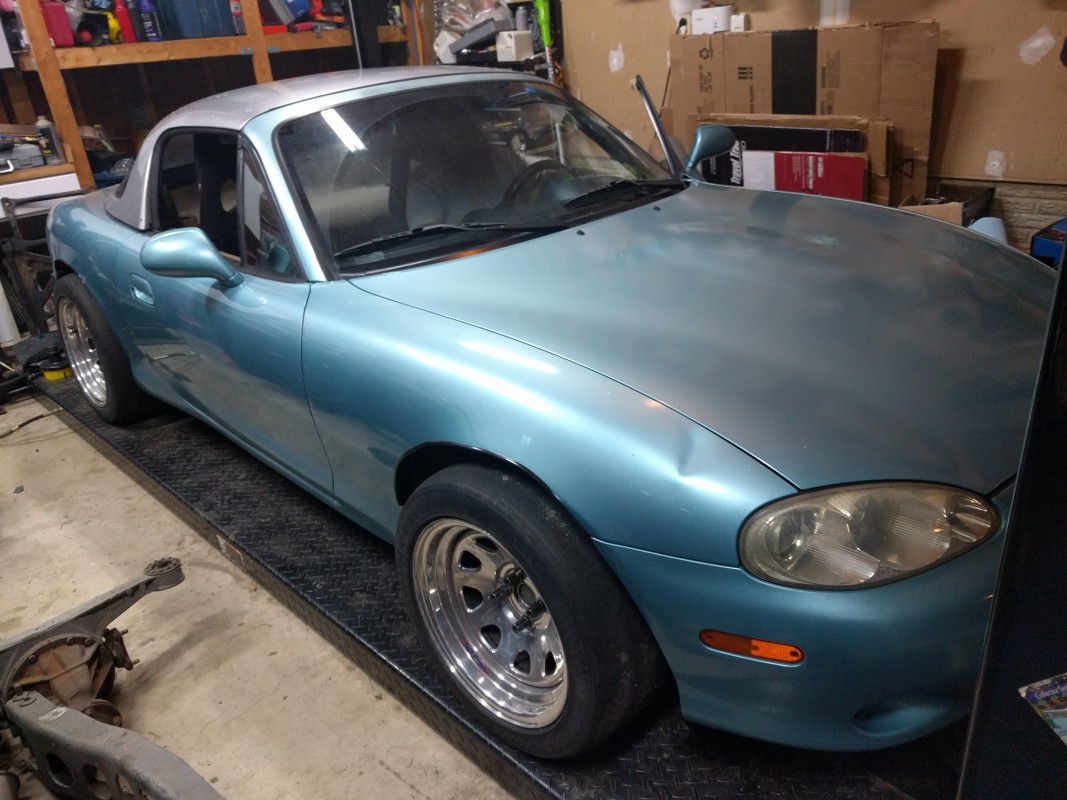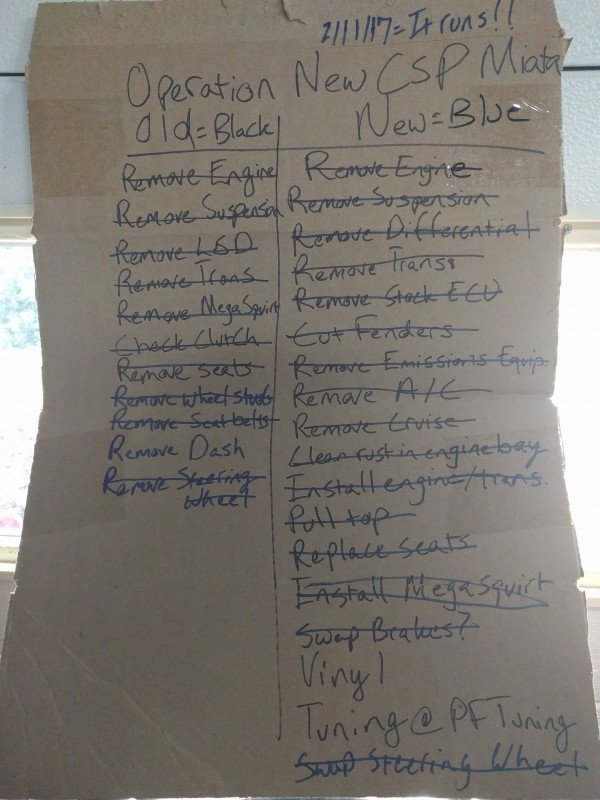
Ended the 2016 autox season with this car:

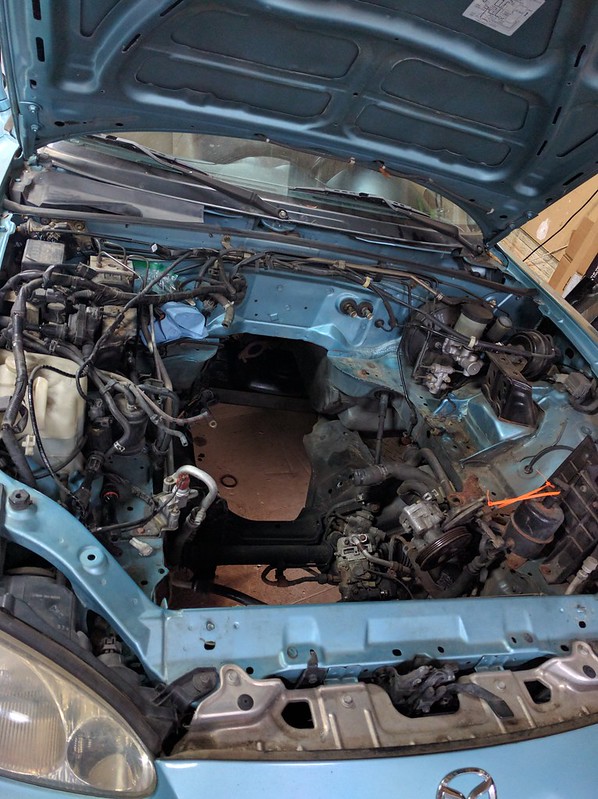
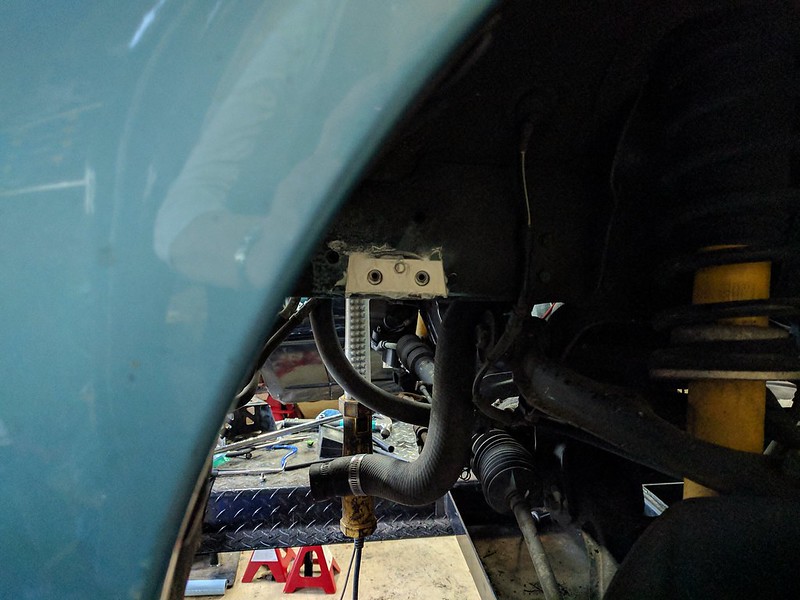
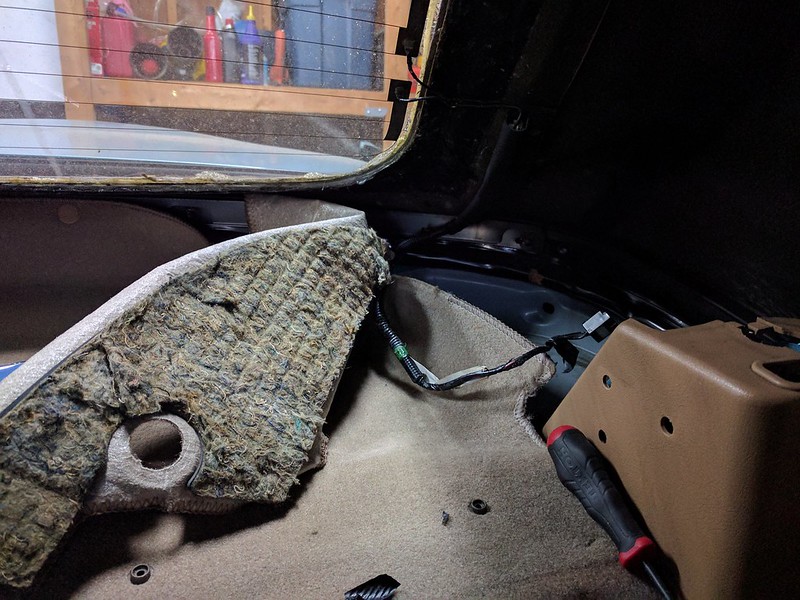
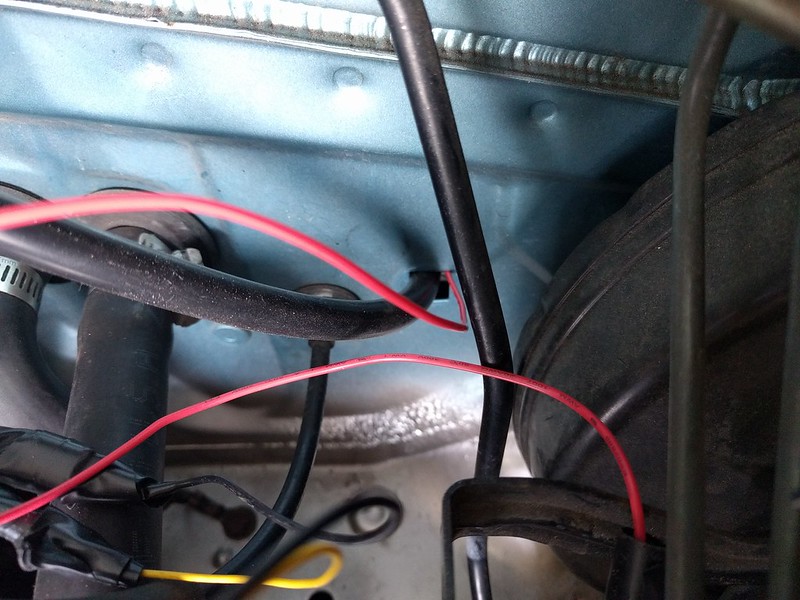
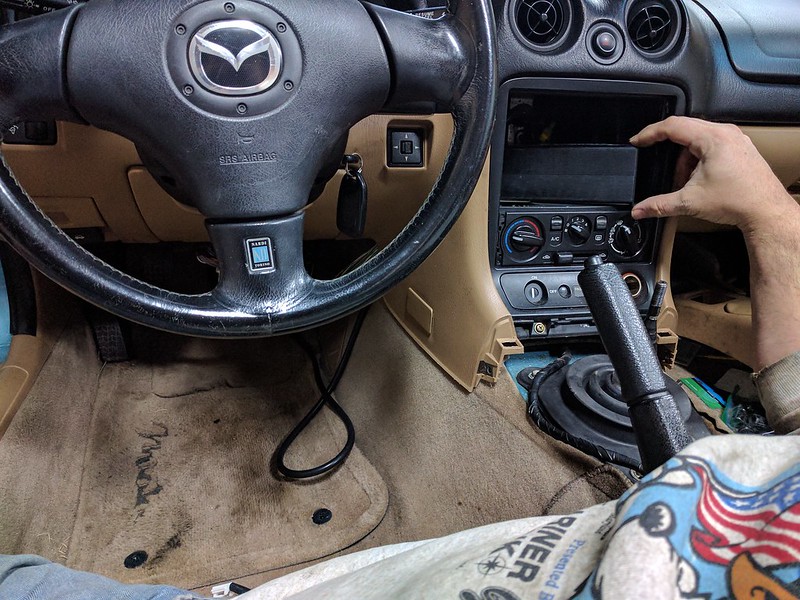
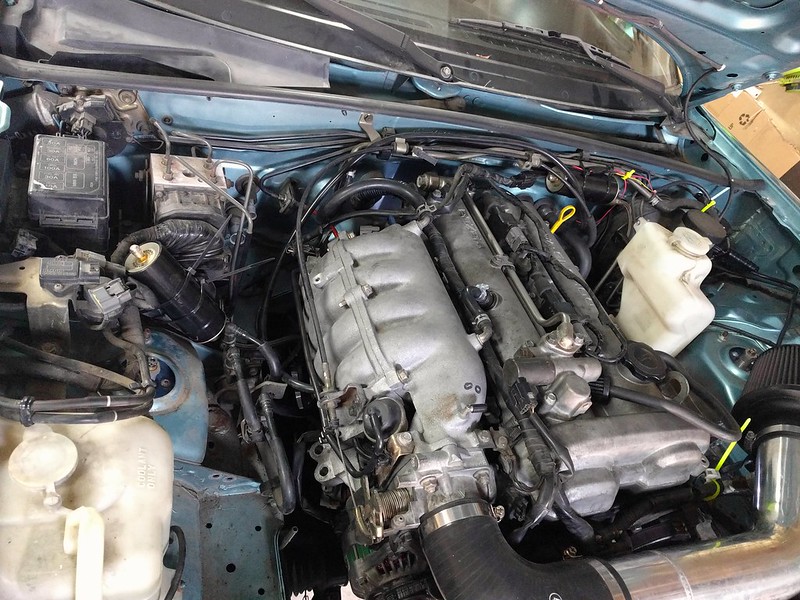
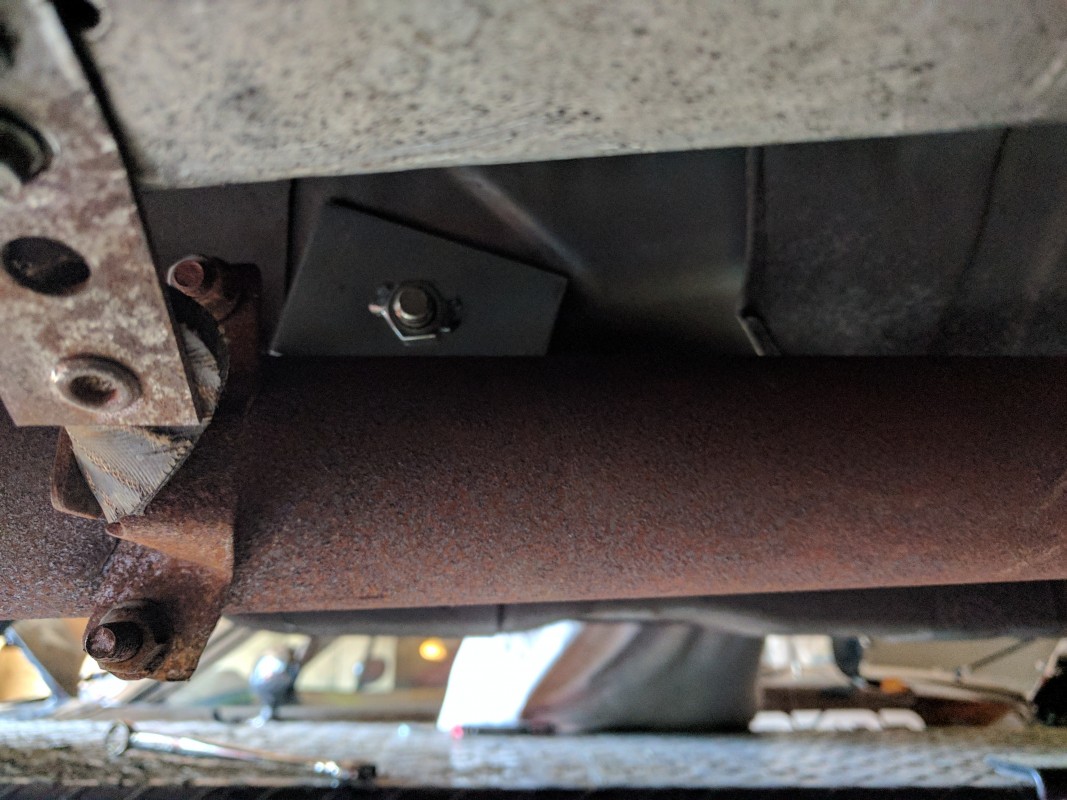
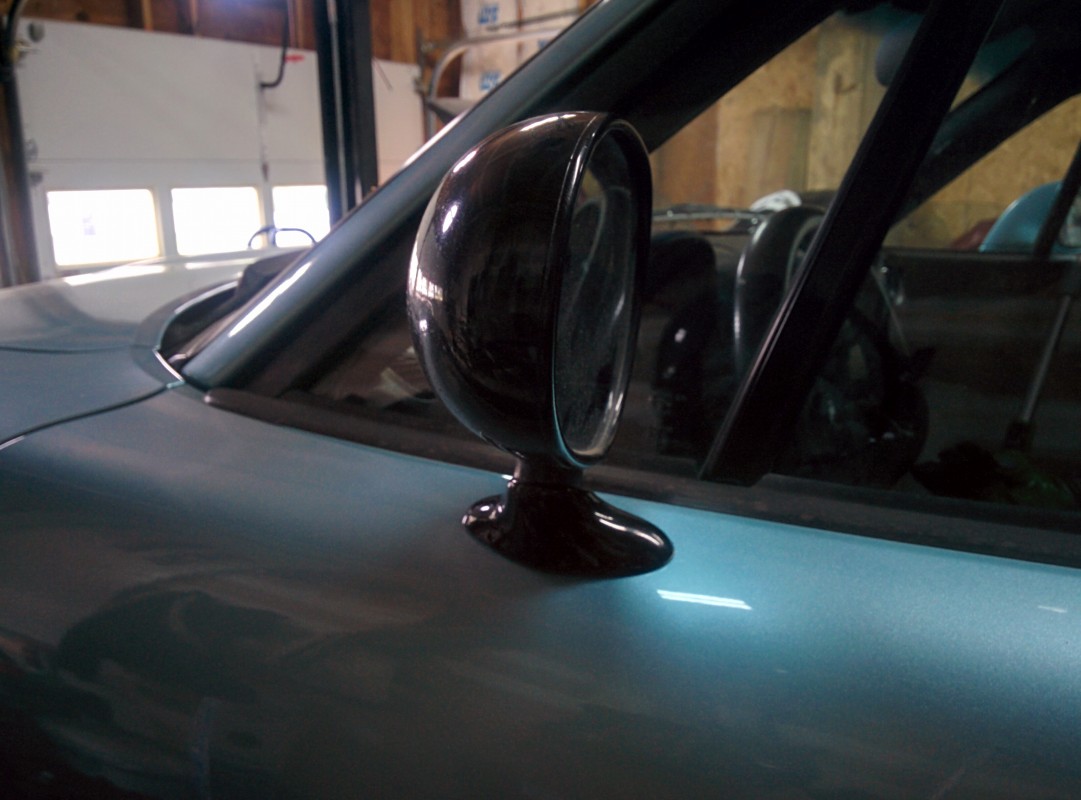
That's an NA Miata with a NB VVT motor and lots of other go-fast bits, but no ABS. After talking with some other CSP competitors, we decided that swapping to an NB chassis for CSP to get the better ABS brakes might be a good idea to stop killing Hoosiers from brake lockups if we could find the chassis cheap enough. You can't just swap the NB ABS into the NA chassis because the holes are not there to install it and SCCA CSP rules don't allow adding the holes. Back in October, on Shawn's daily checks of Craigslist, he found another crystal blue Miata with close to the same mileage as our 2002 rallyx car (the unicorn) for only $1900. He sent the seller a message asking if it has ABS or if he does not know, can he send an underhood picture so Shawn could tell.
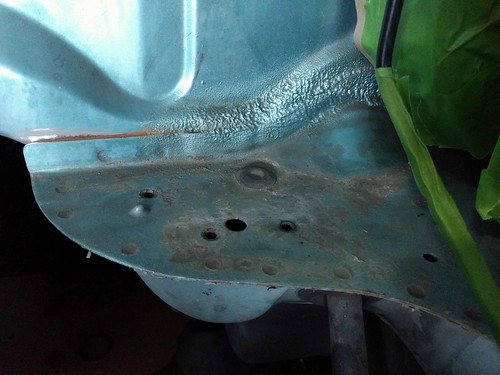
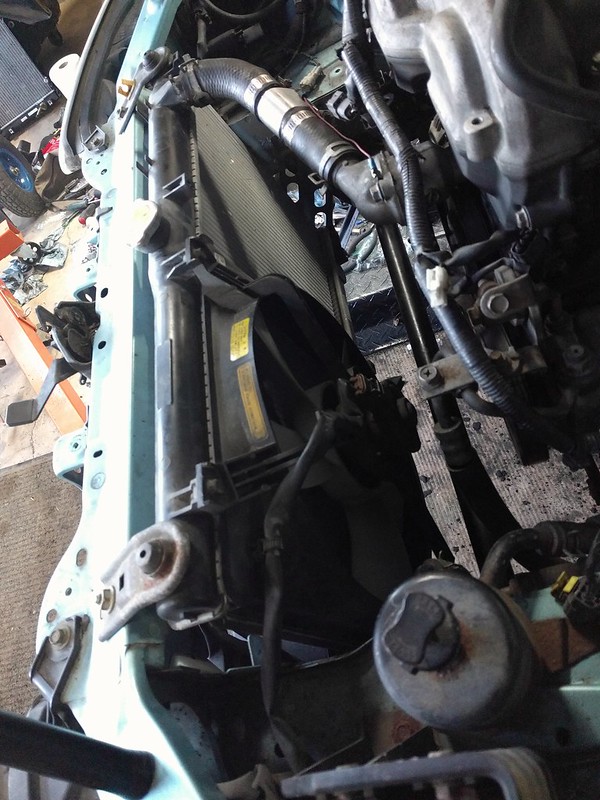
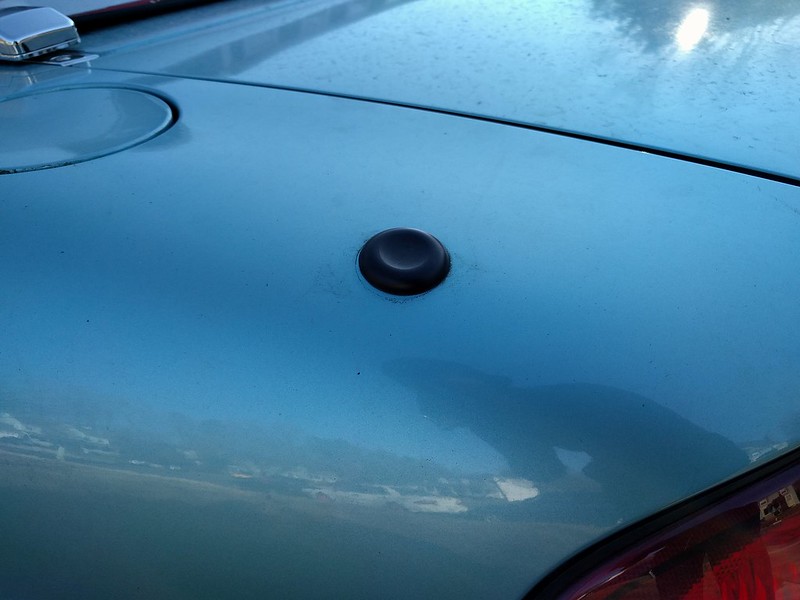
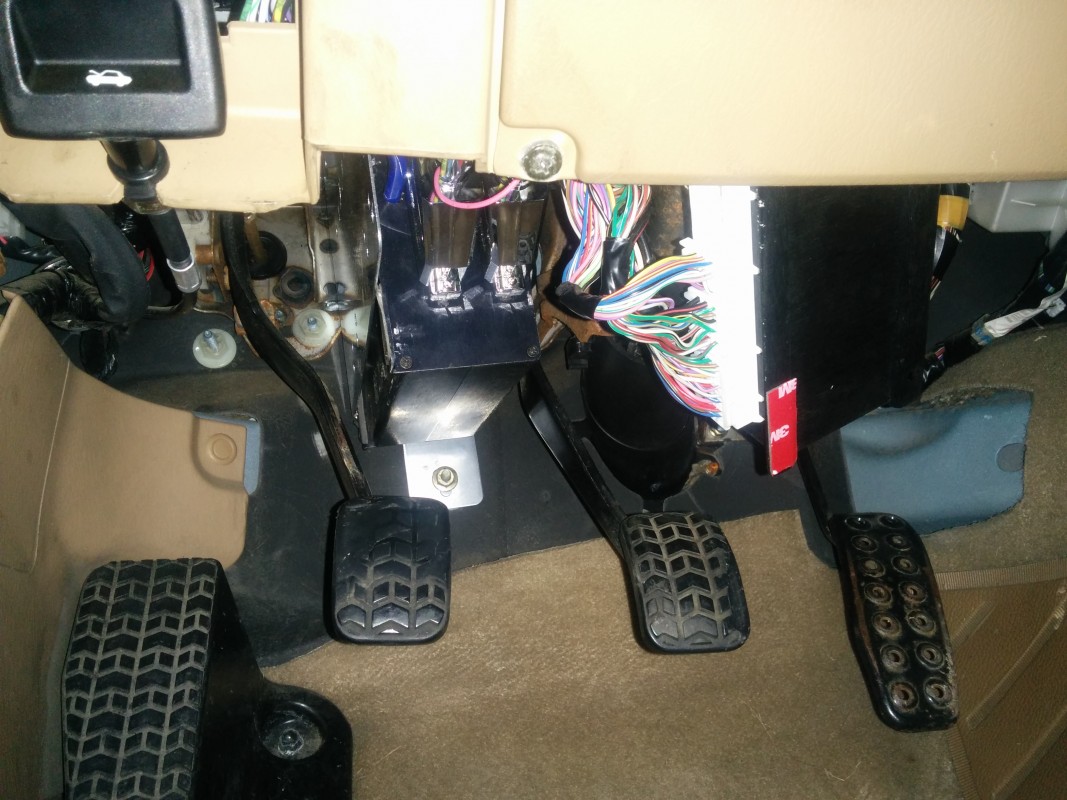
Shawn got back a picture like this:
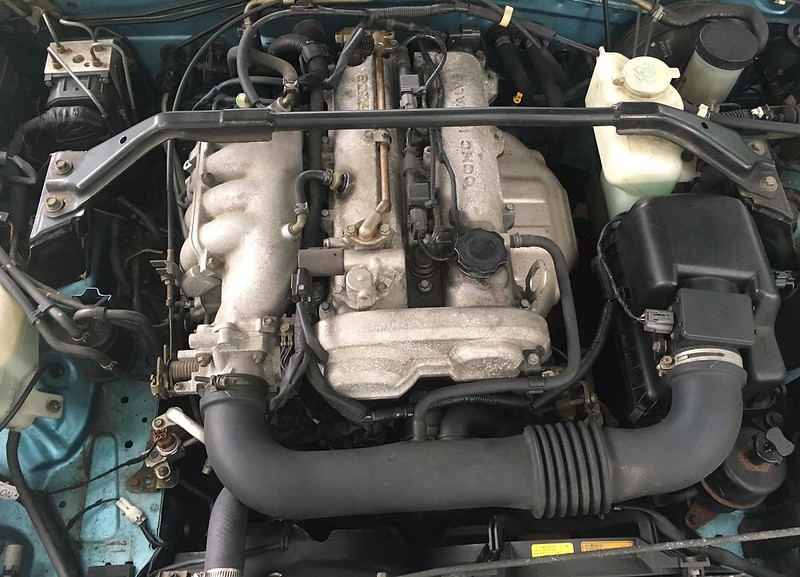
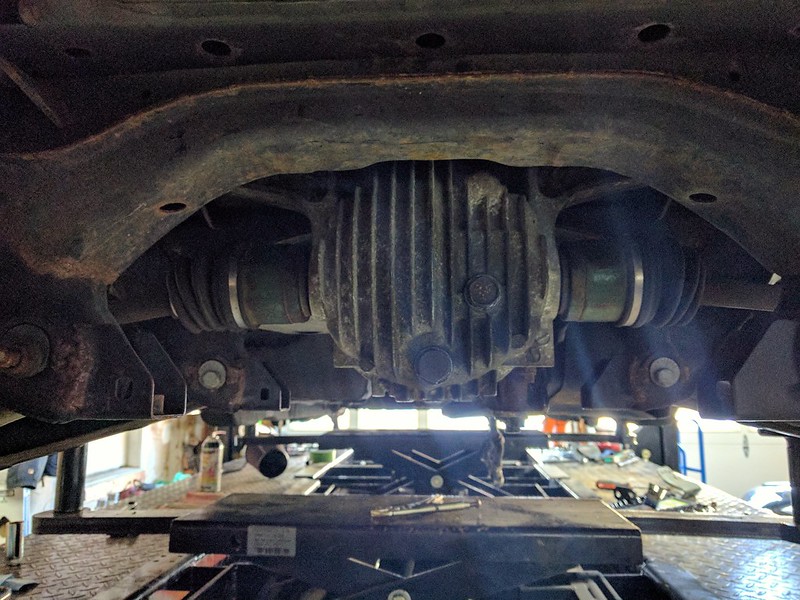
Yes that is an ABS car, 2001 Miata, 6 speed, VVT motor with leather interior and about 237K miles, so almost a twin to the unicorn. Unfortunately, that means we pretty much need to take the whole driveline/suspension from the black CSP car as well as the dash and put it into the 2001 chassis.
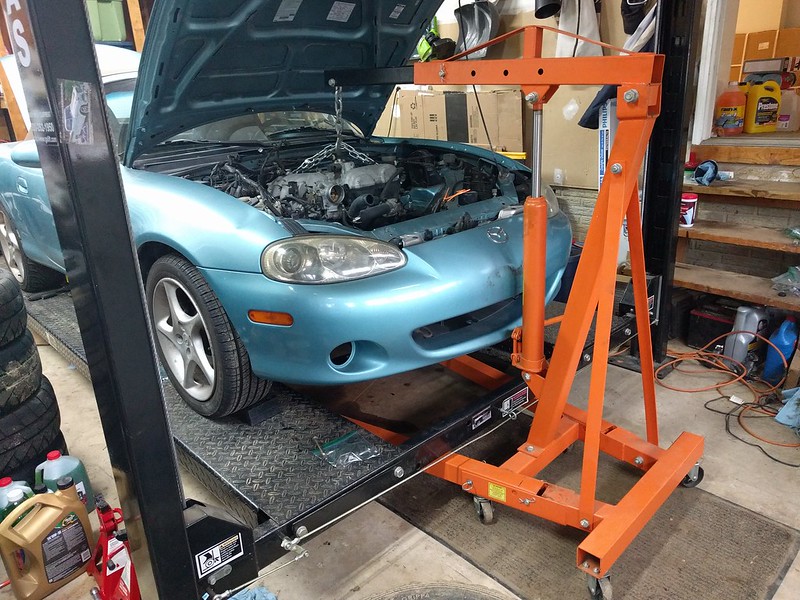
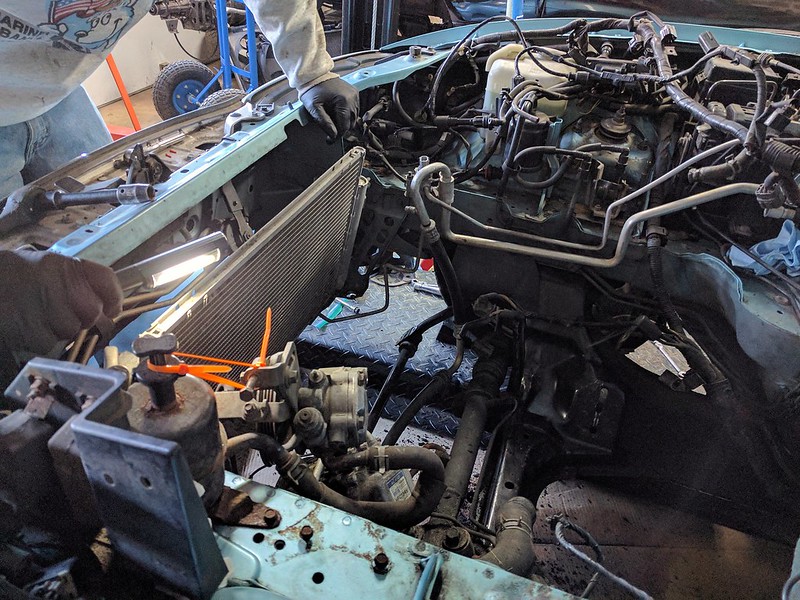
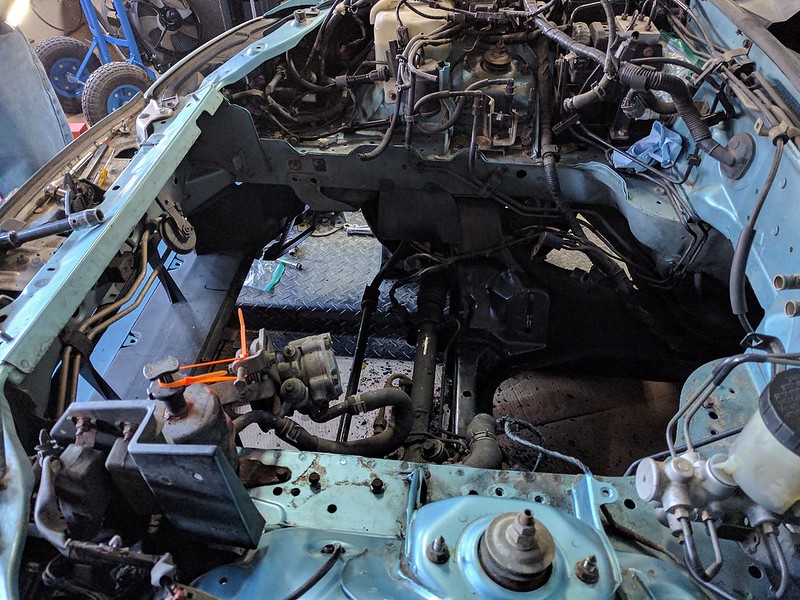
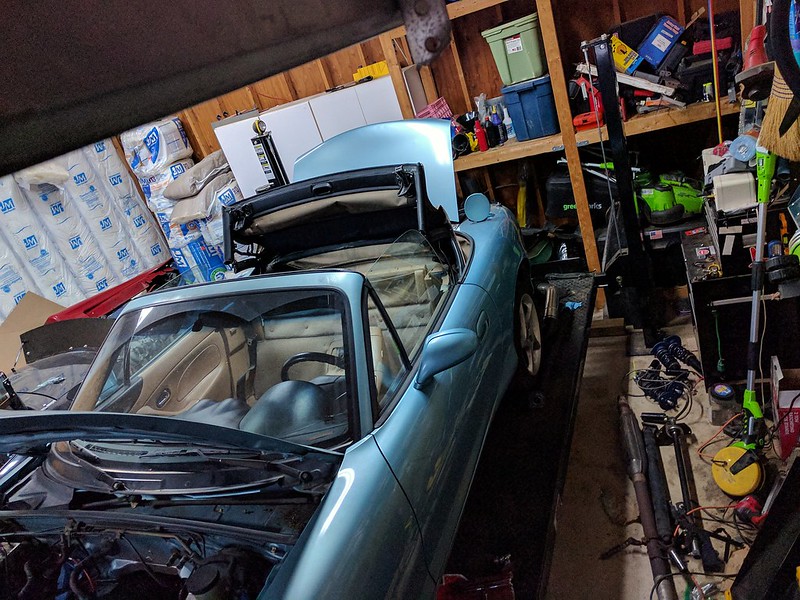
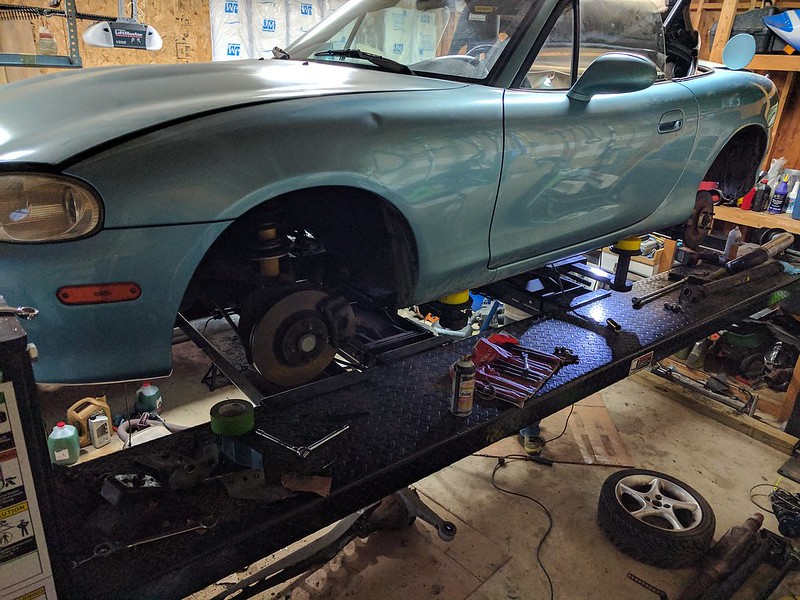
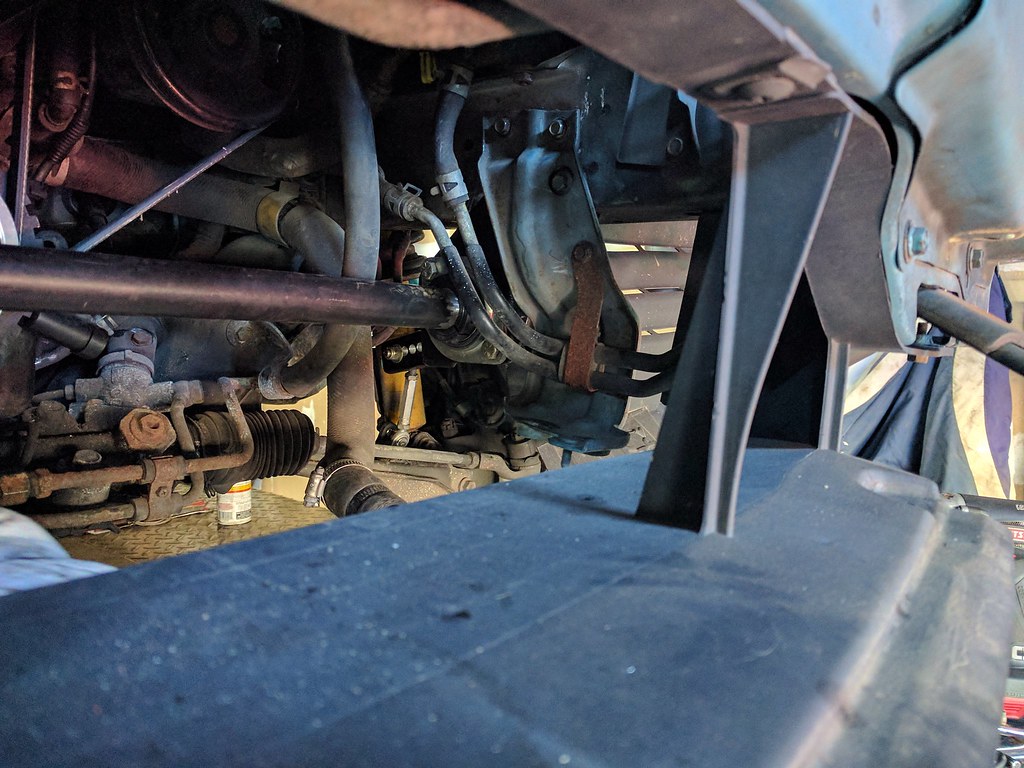
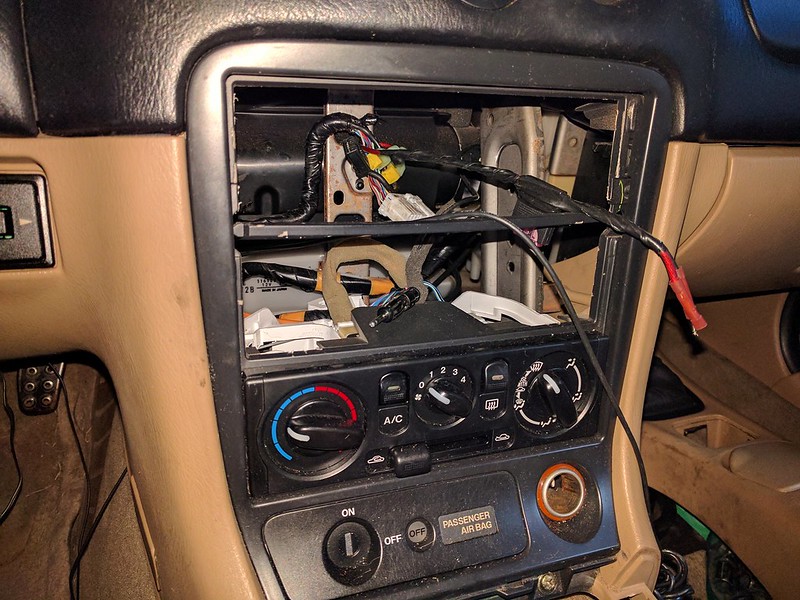
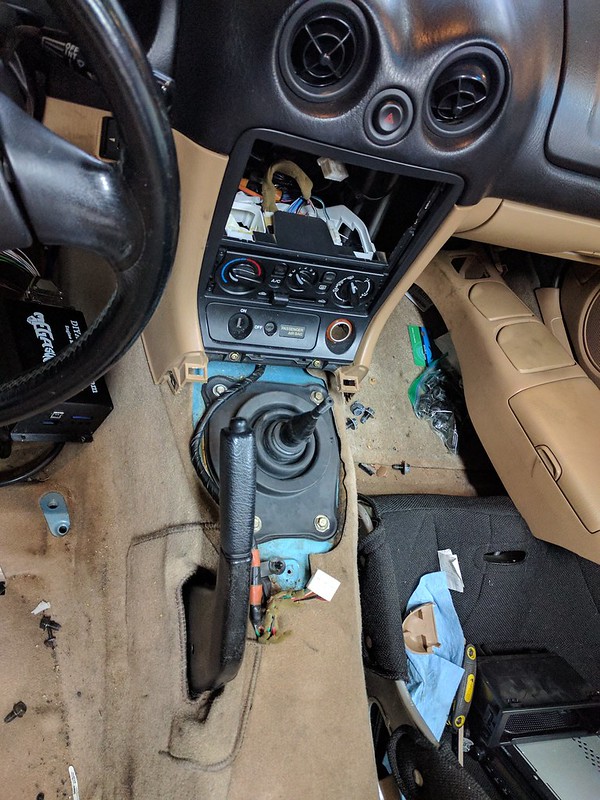
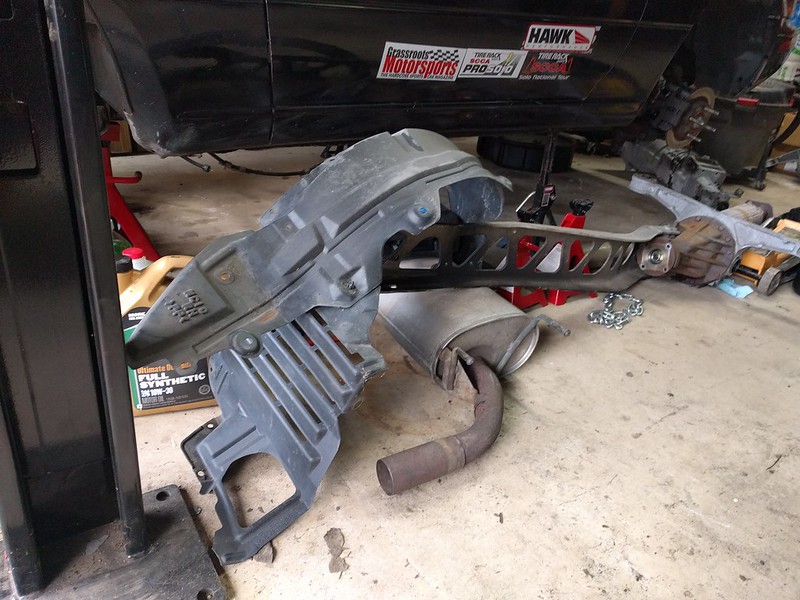
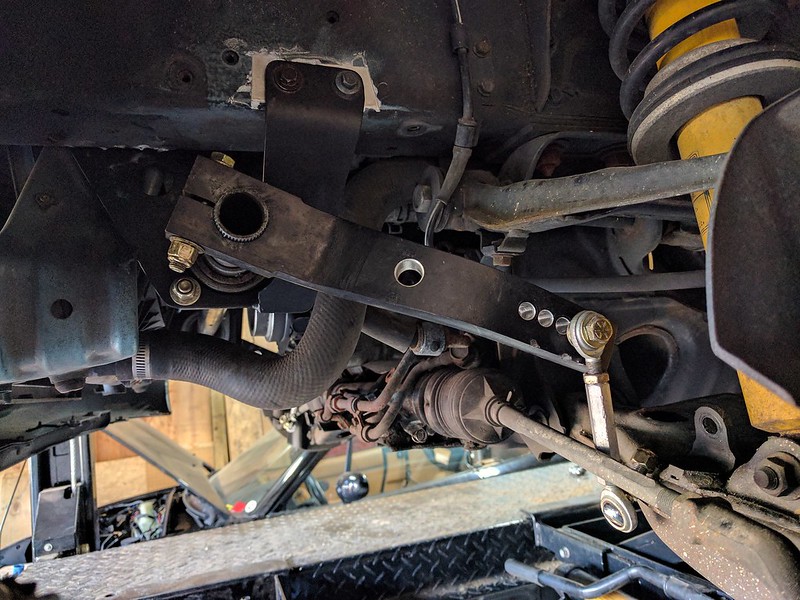
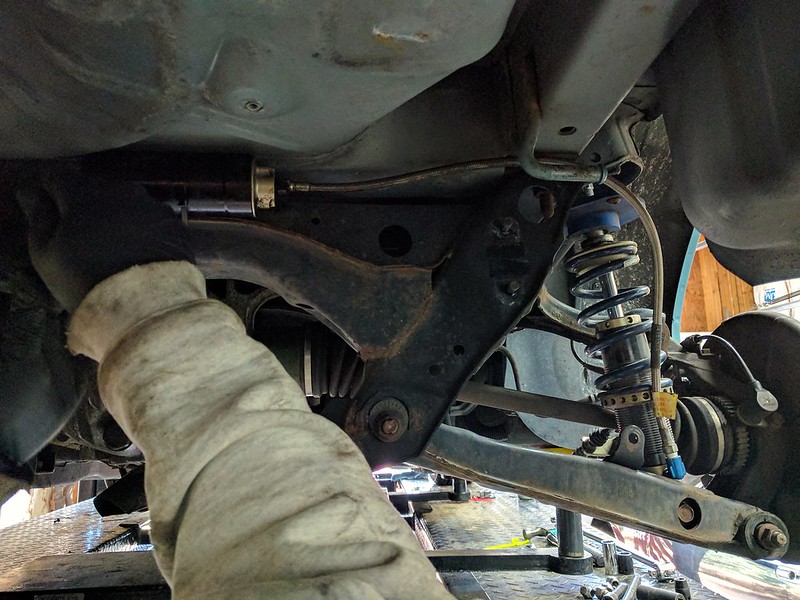
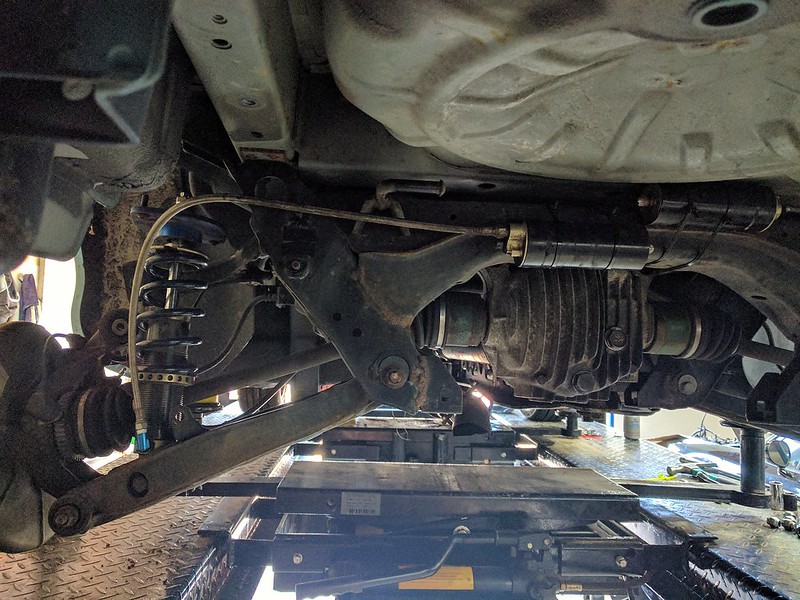
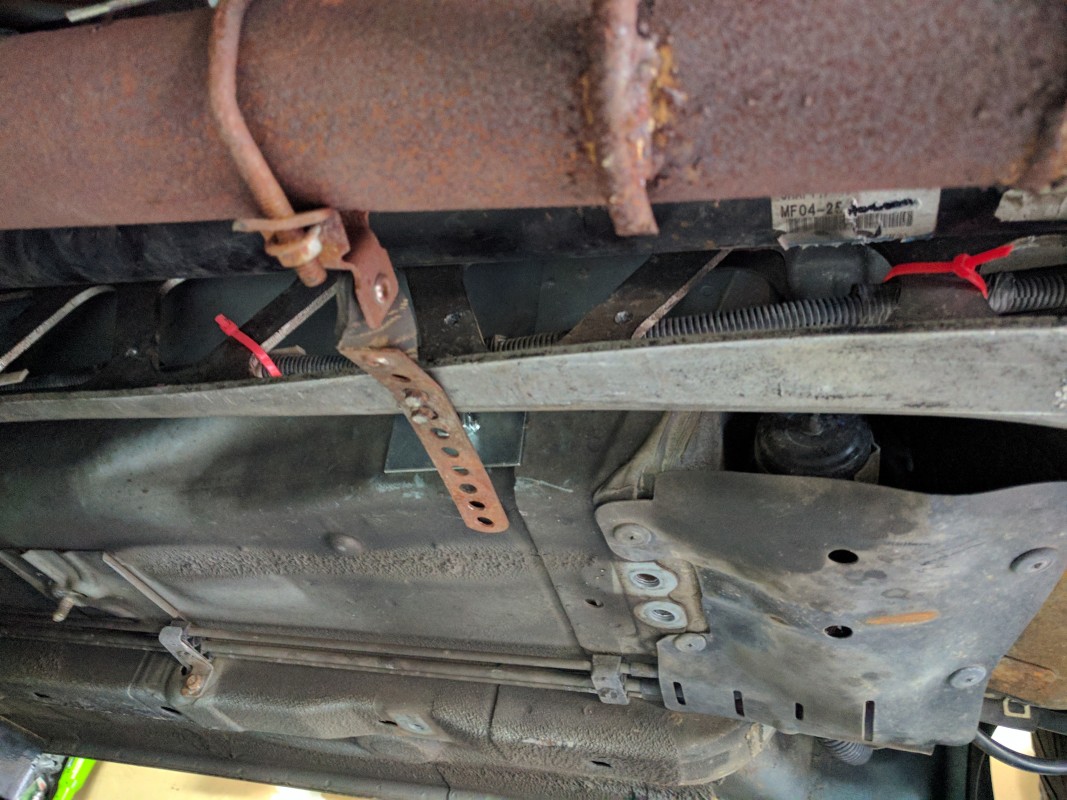
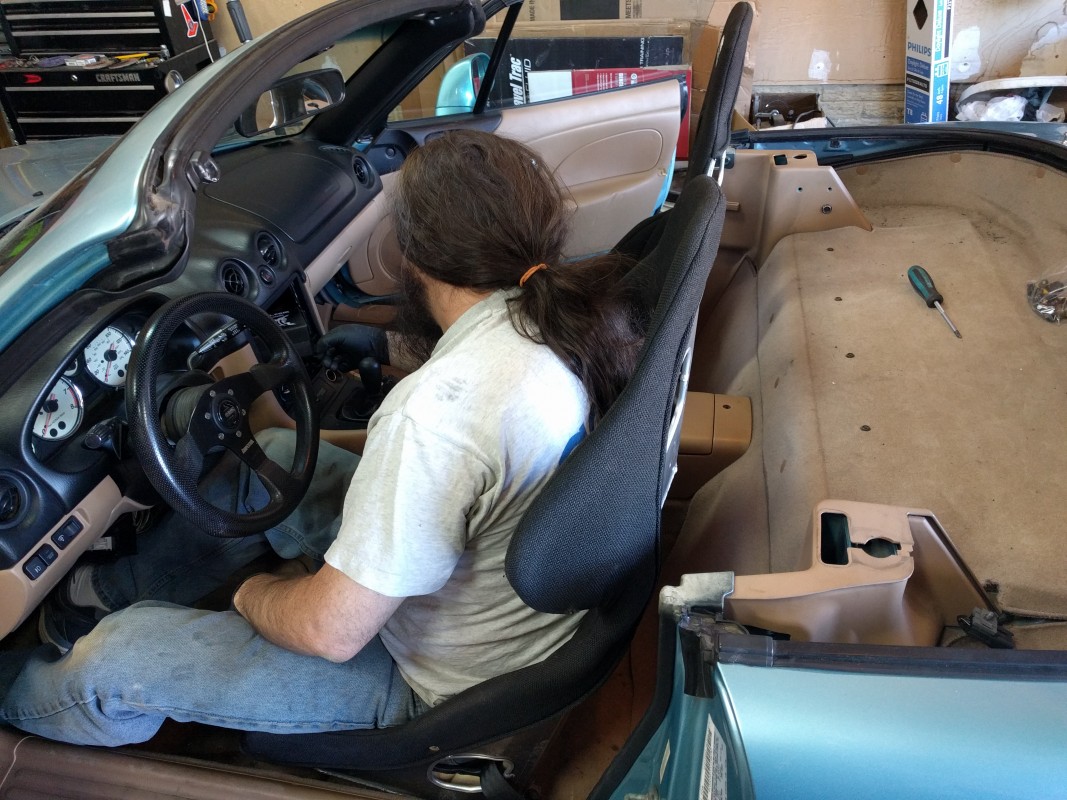
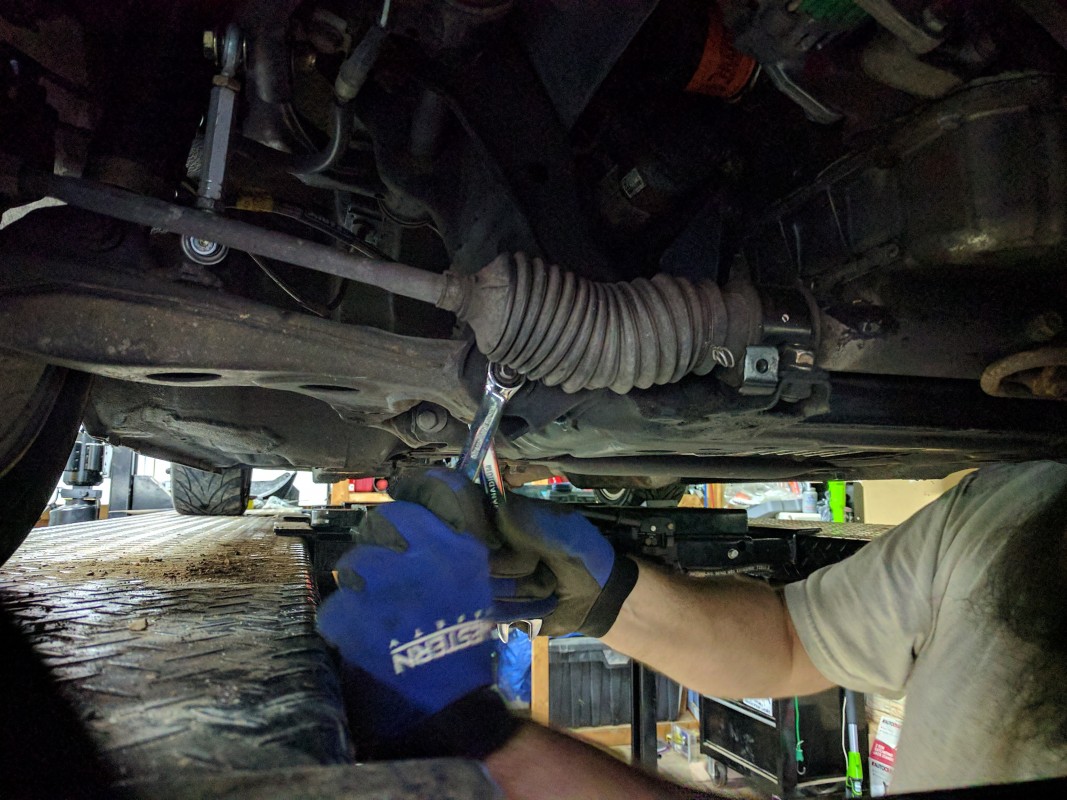
Once we got it home, we put it up on the lift. New car on top, old on the bottom. Quite a lot of work in between.

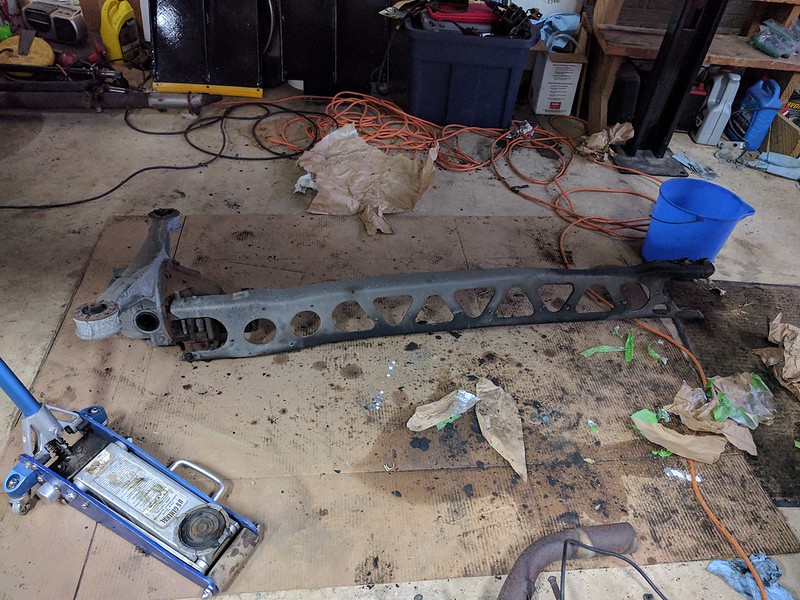
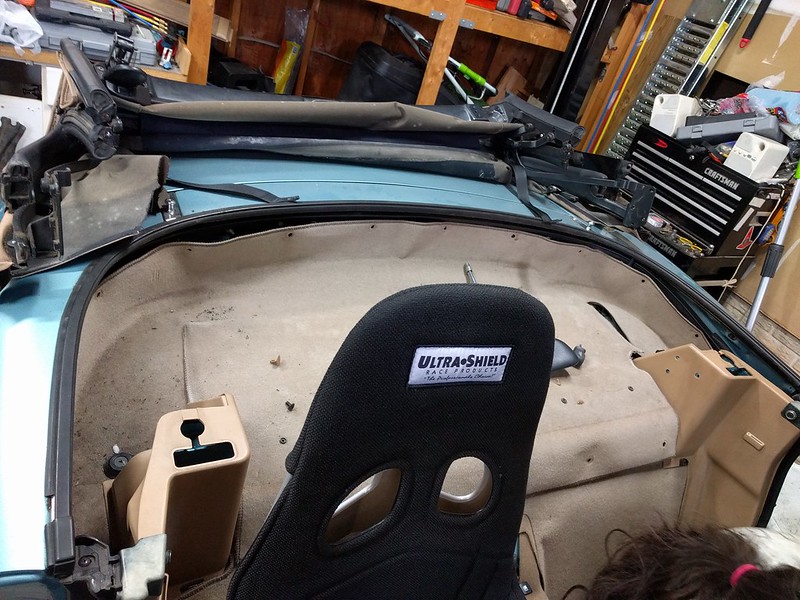
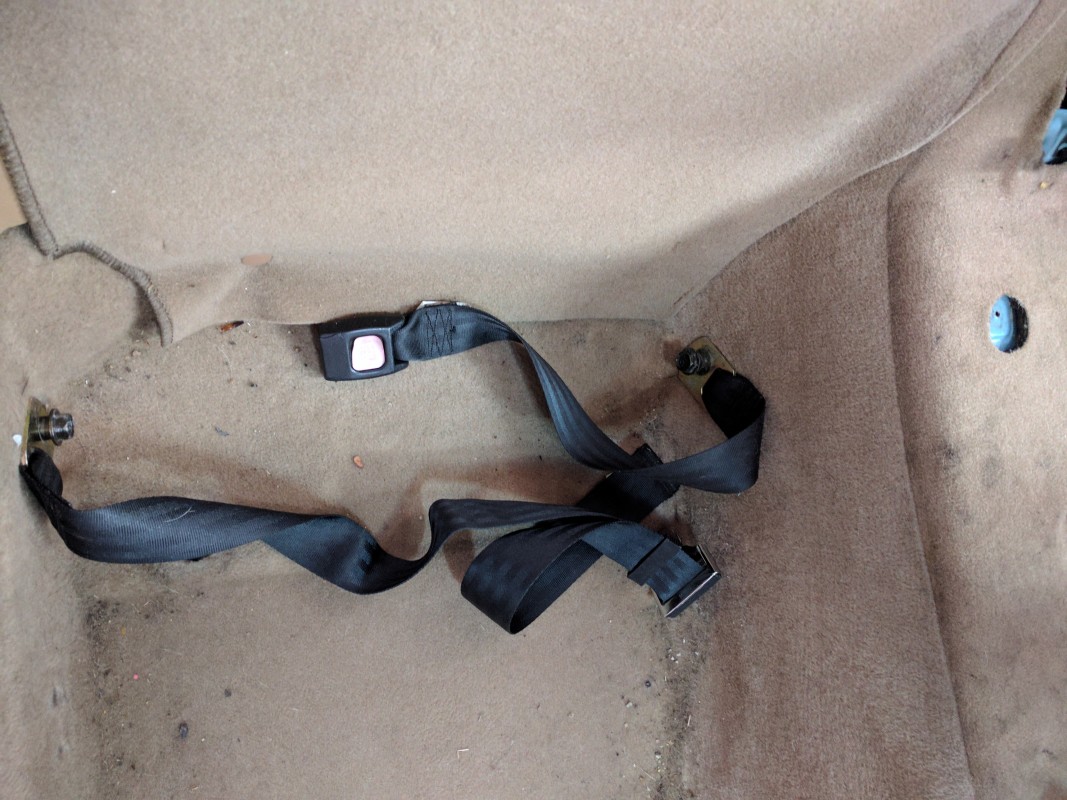
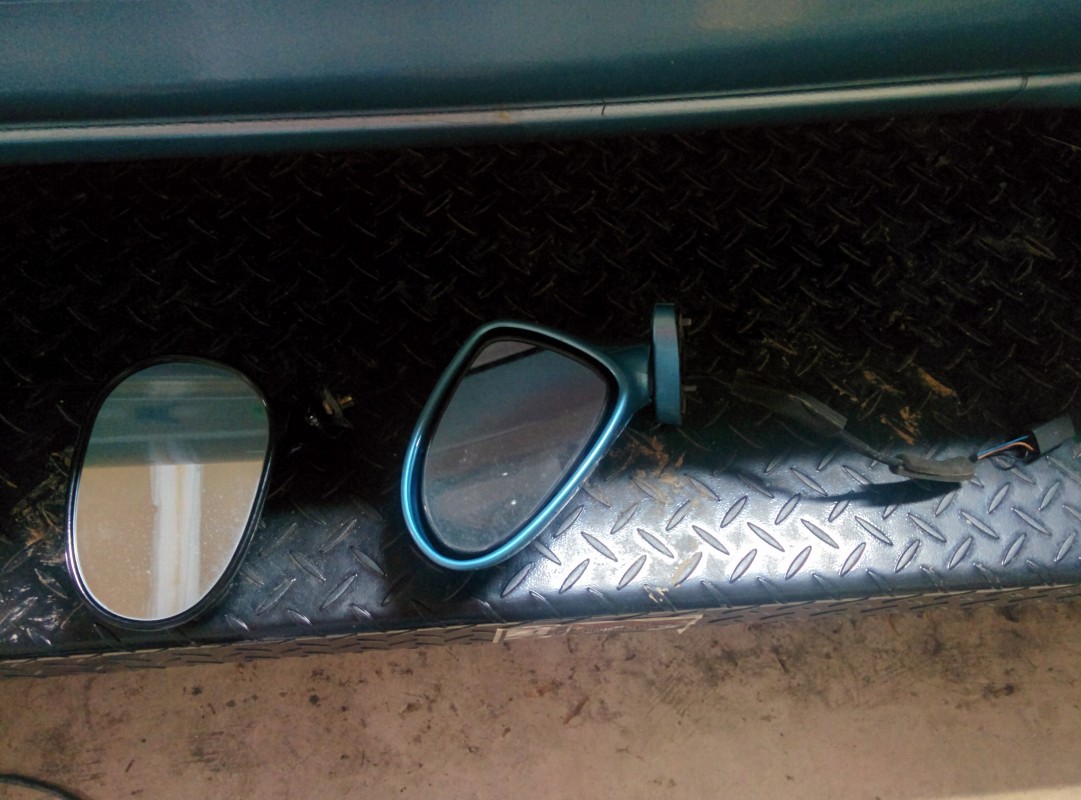
It sat that way for a while as Shawn whittled away at the parts car to free up space on the other side of the garage:
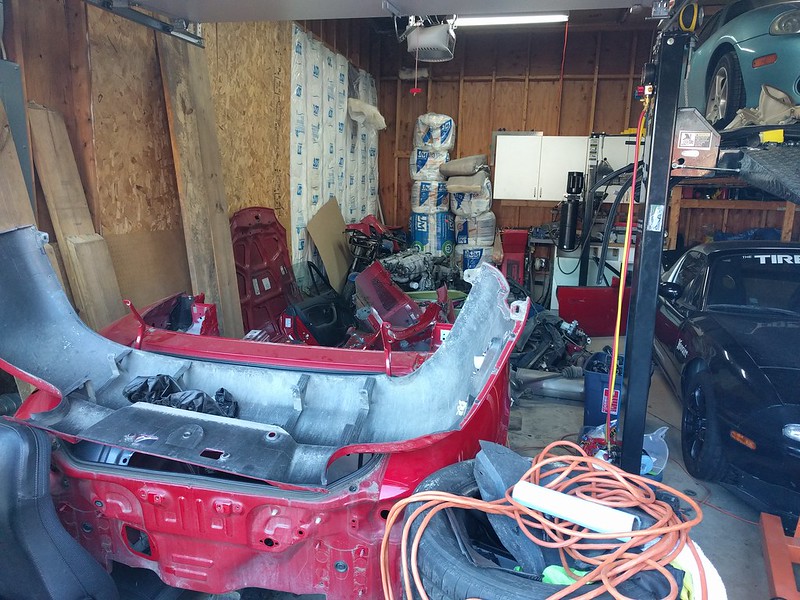
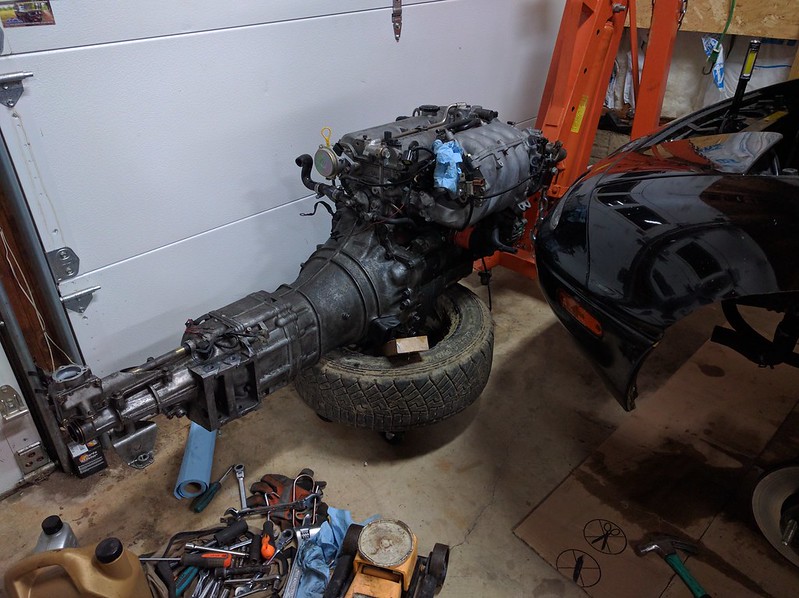
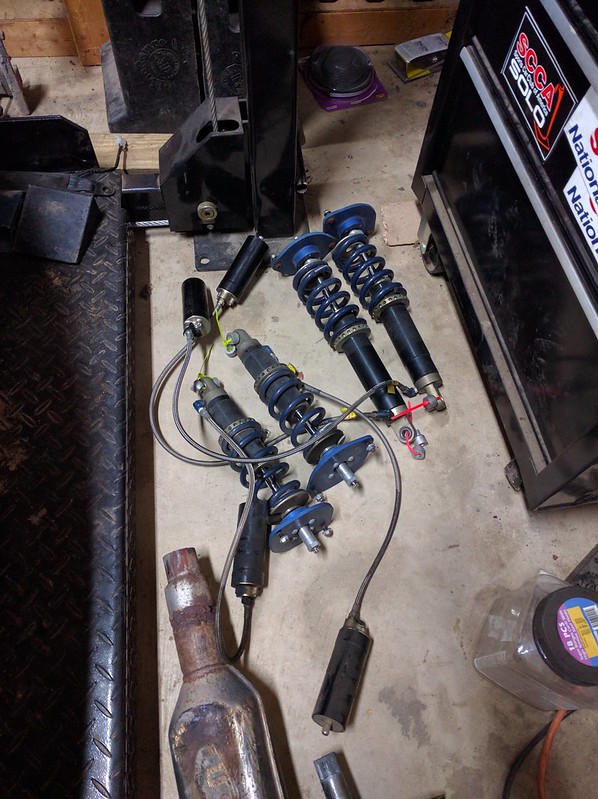
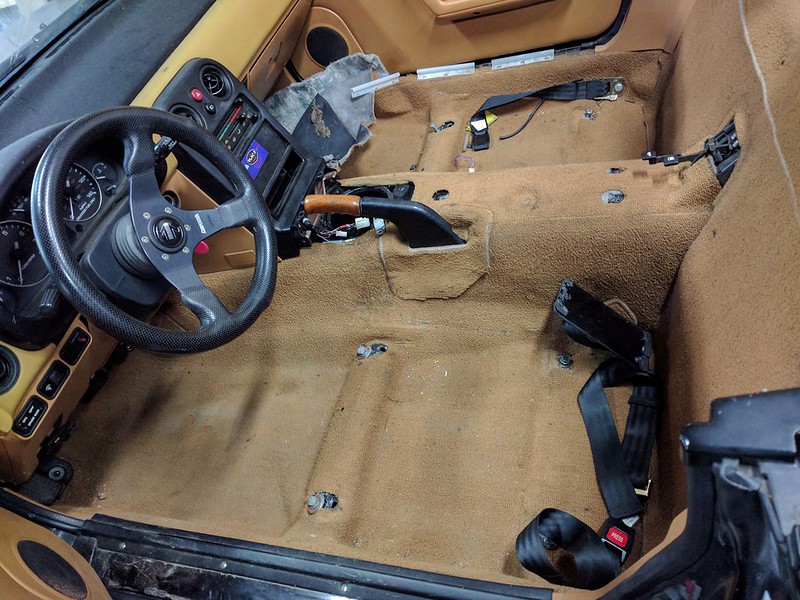
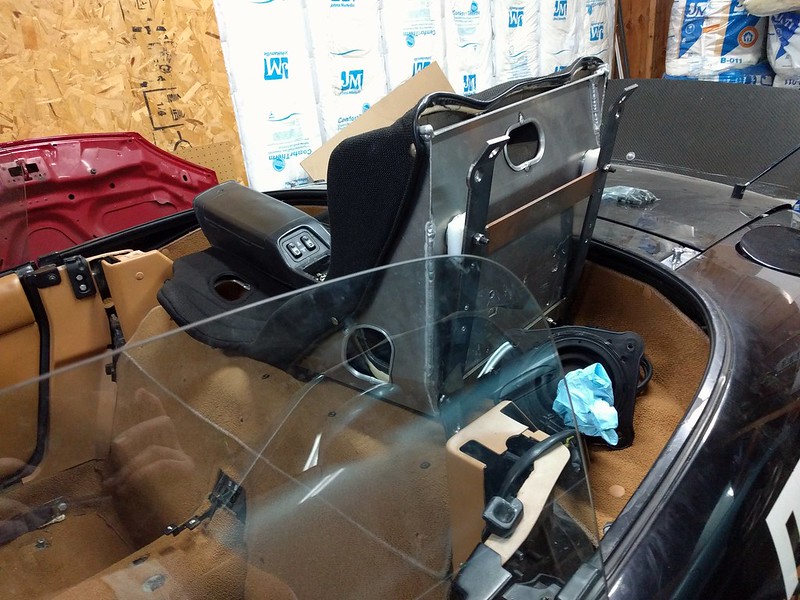
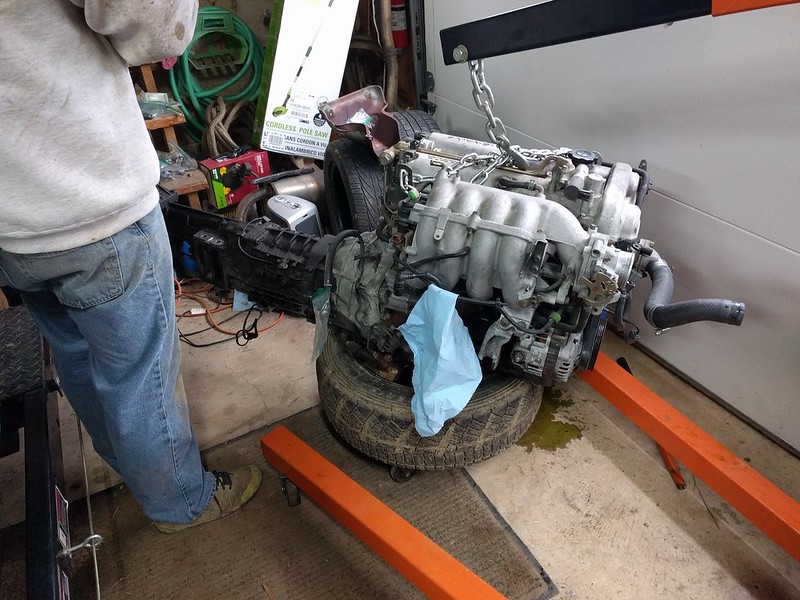
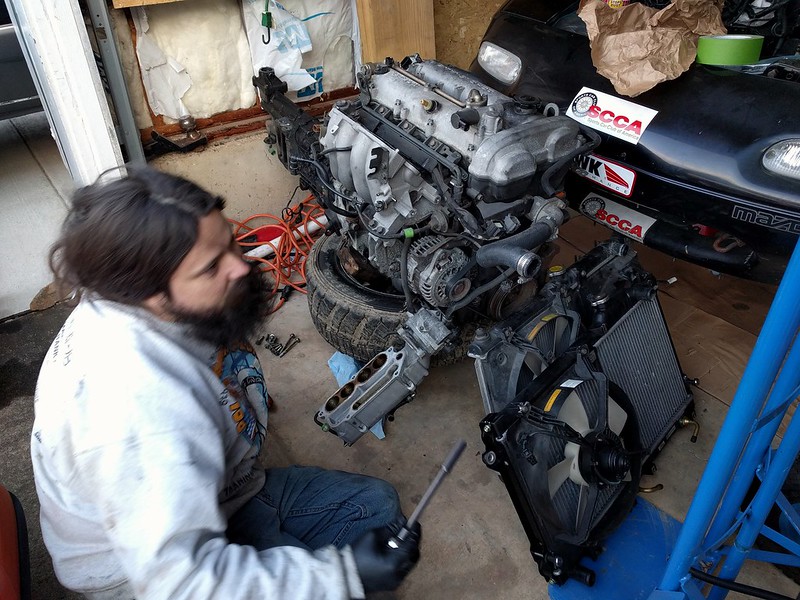
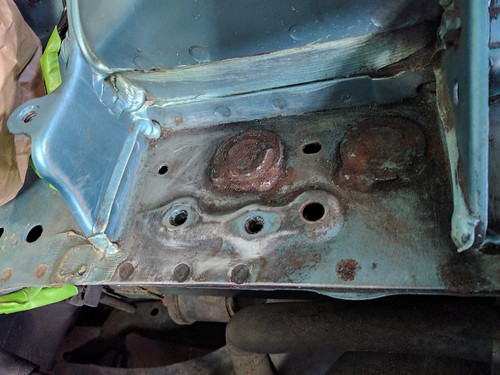
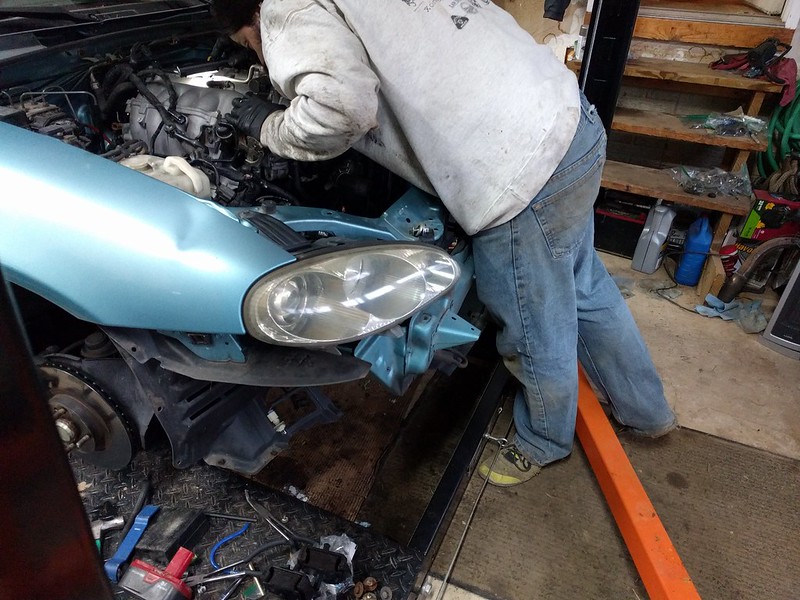
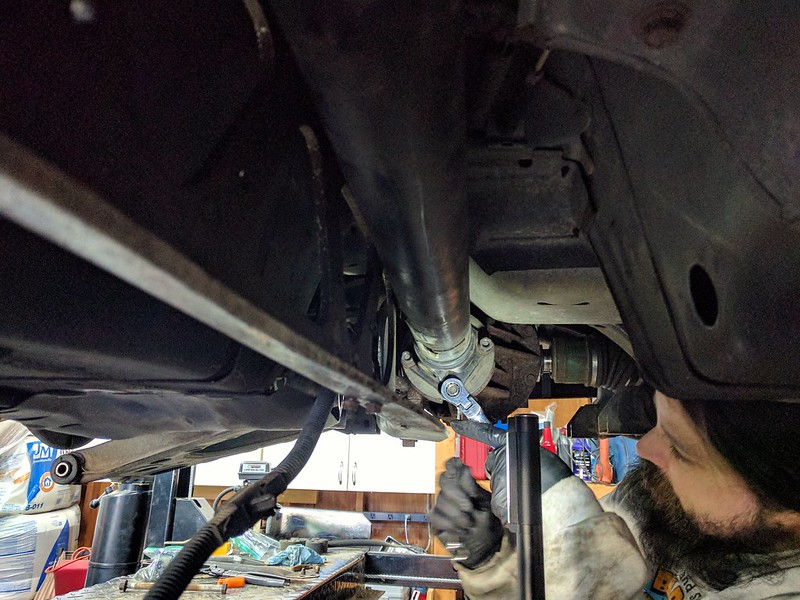
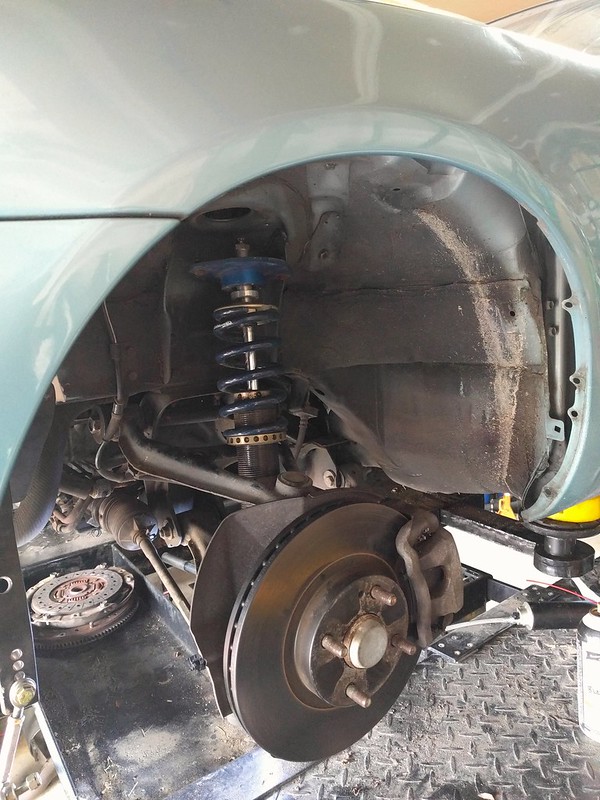
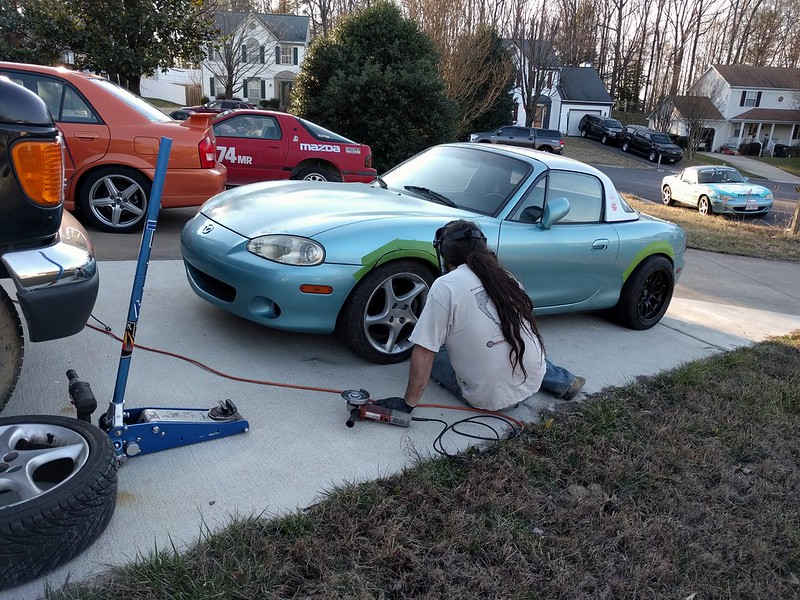
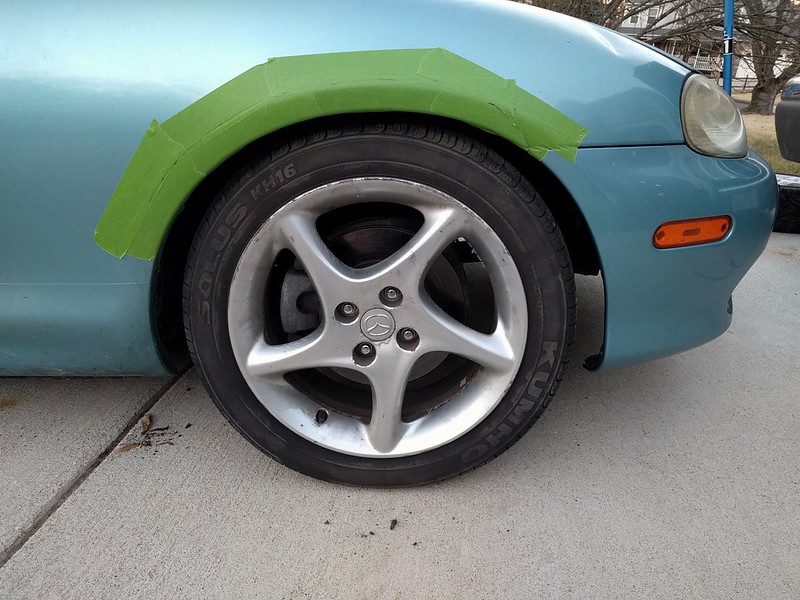
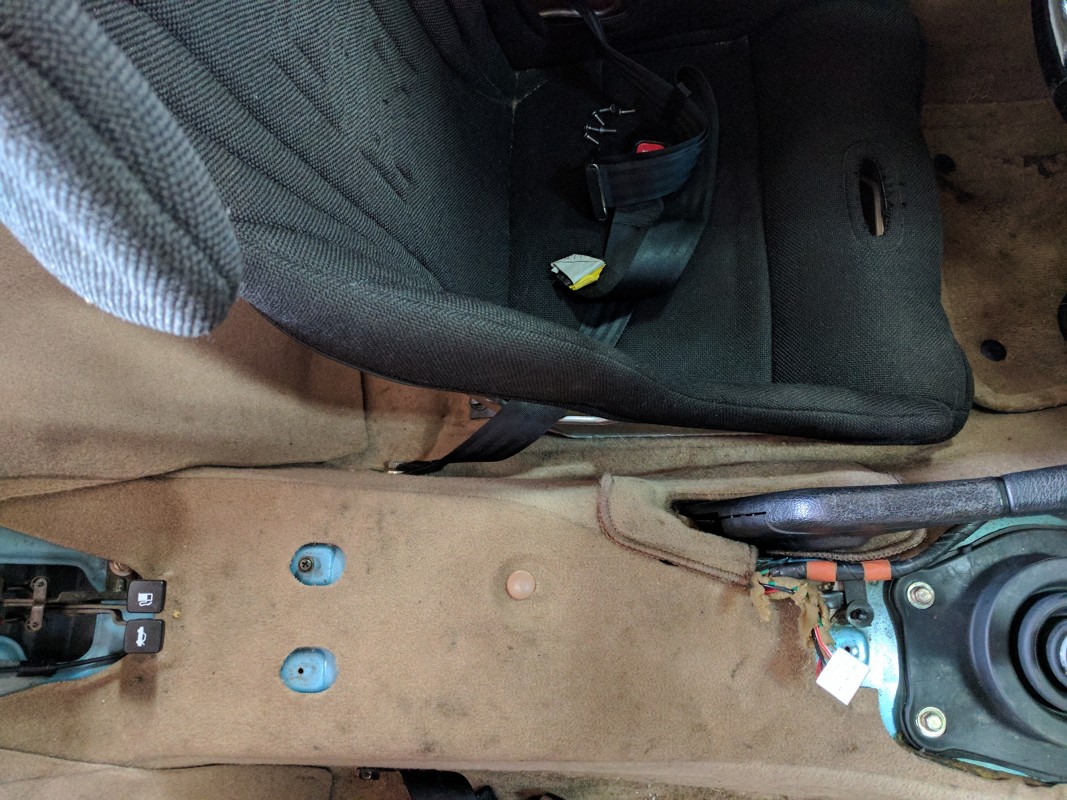
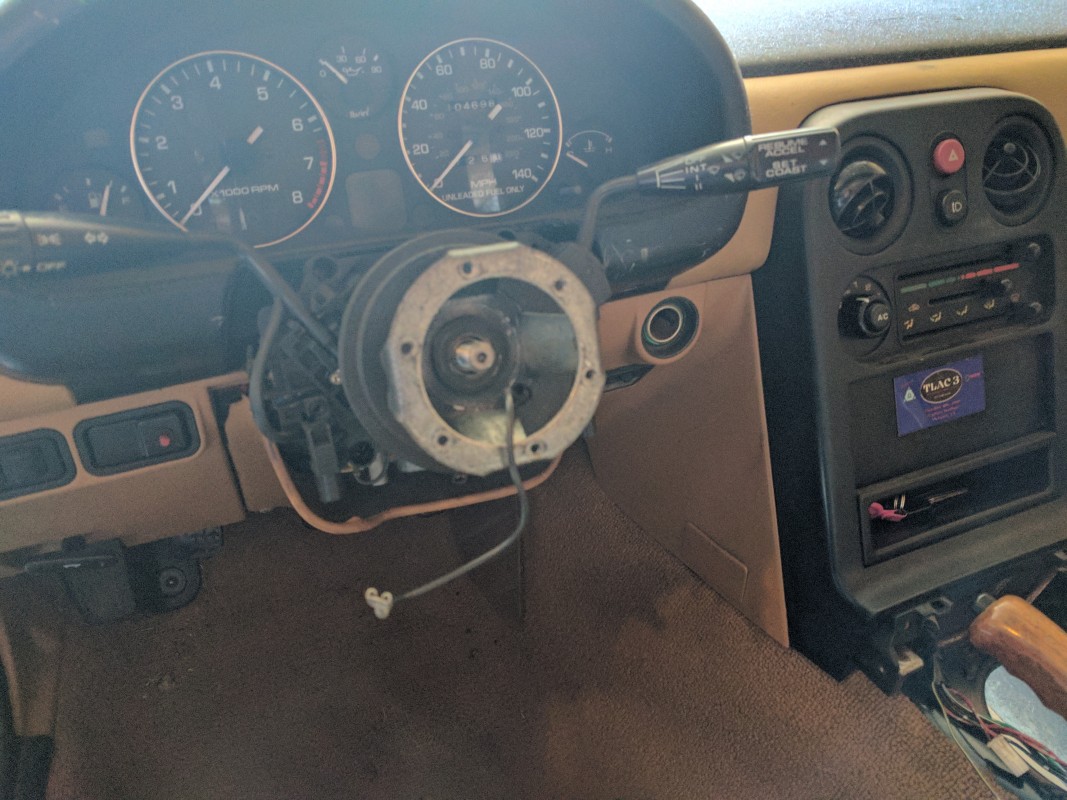
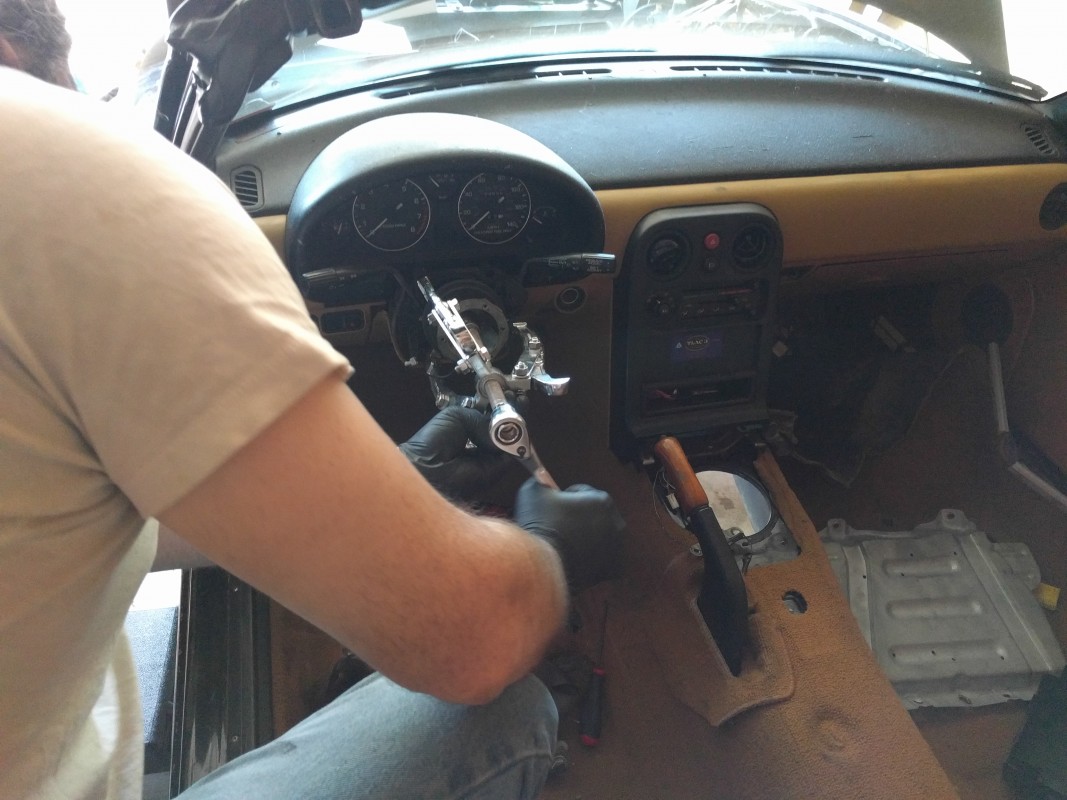
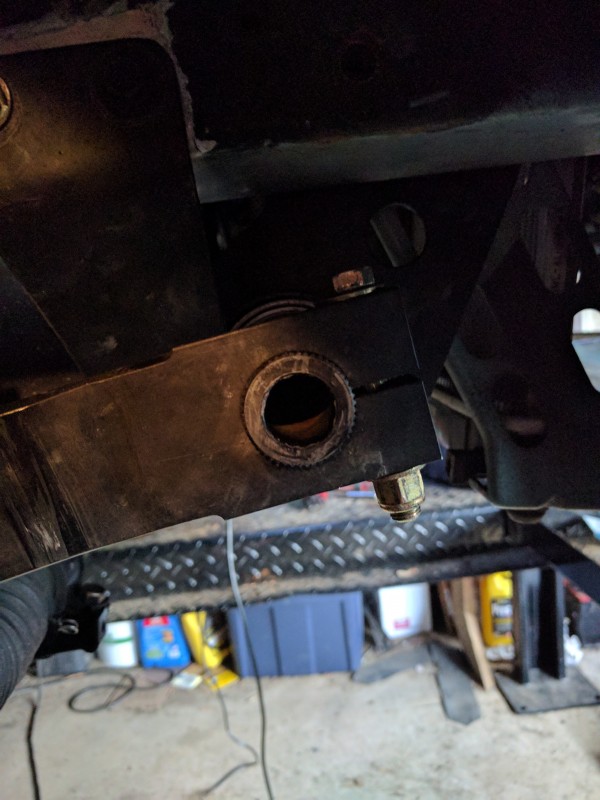
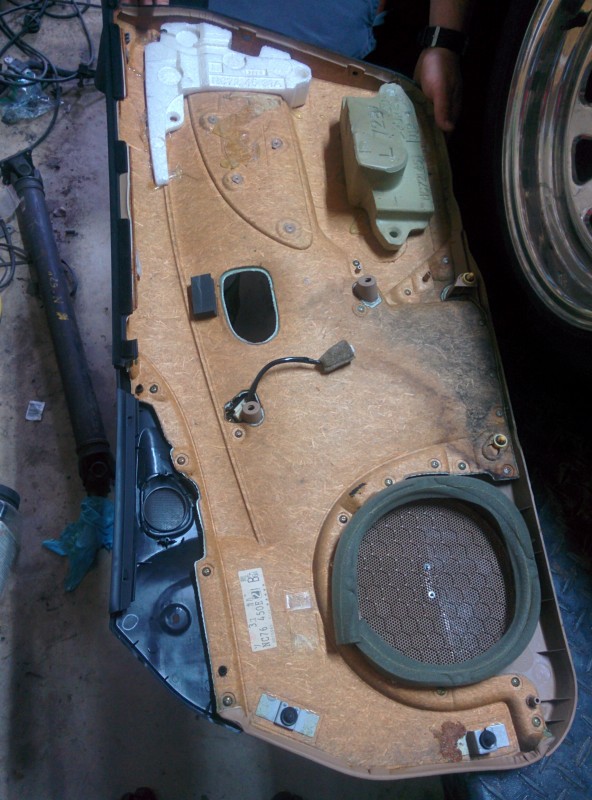
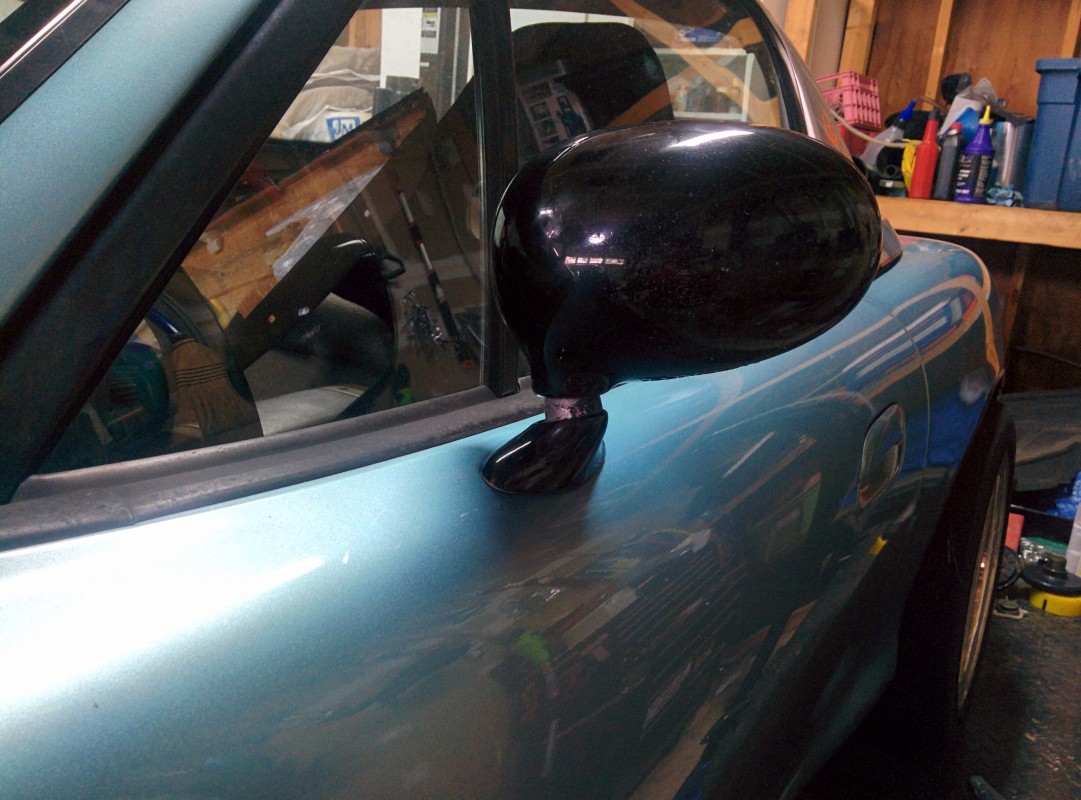
Finally able to move the cars after Christmas and started dismantling the black car: